Week 5 - Deployment to a virtual machine
Congratulations! You have made it to phase two of the DevOps course. We will switch from running the application locally to running it on a virtual machine. We will provide you with a platform for managing cloud resources called minu.etais.ee and give each team a project with necessary resources.
Make sure you have fulfilled all the requirements of phase one before continuing with the next phase. We will carry on with the same features as before but add more automation on the operations side. We will also add authentication while taking into account keeping sensitive information secure.
Development requirements
There are no new development requirements this week. Make sure all the features from phase 1 work as expected.
Operational requirements
How to login to ETAIS and add SSH key
We'll be taking a look at a cloud service called ETAIS. ETAIS is developed in University of Tartu's High Performance Computing Centre by the dev-team and it aims to provide a self-service environment for requisitioning and using various computational resources for Estonian students and researchers.
An ETAIS invitation should be in your mailbox. Invitations were sent to your firstname.lastname@ut.ee email addresses. Read the invitation. It should state that the DevOps: Automating Software Delivery and Operations Course - LTAT.06.015 has invited you to join a project. To accept, copy the link inside the email.
Complete
- Click on the link in the invitation
- Login by clicking
Sign in with MyAccessID - After that, search for your institution (University of Tartu) and enter your (UT) username and personal password.
- NB! If this is your first time logging in with MyAccessID, it will guide you through a signup process.
- NB! If you prefer, other options such as ID card, Mobile ID, or another institution's username and password, and so on, might also work, but it is up to you to get them working.
- If you can't find the e-mail in your UT mailbox, go to the personal mailbox you provided to University as the primary contact e-mail and look for an e-mail from
selfservice@etais.ee. - If you're still having trouble please contact your lab instructor on Slack.
Verify
If you have successfully logged in, you should see the ETAIS Dashboard similar to the image below: 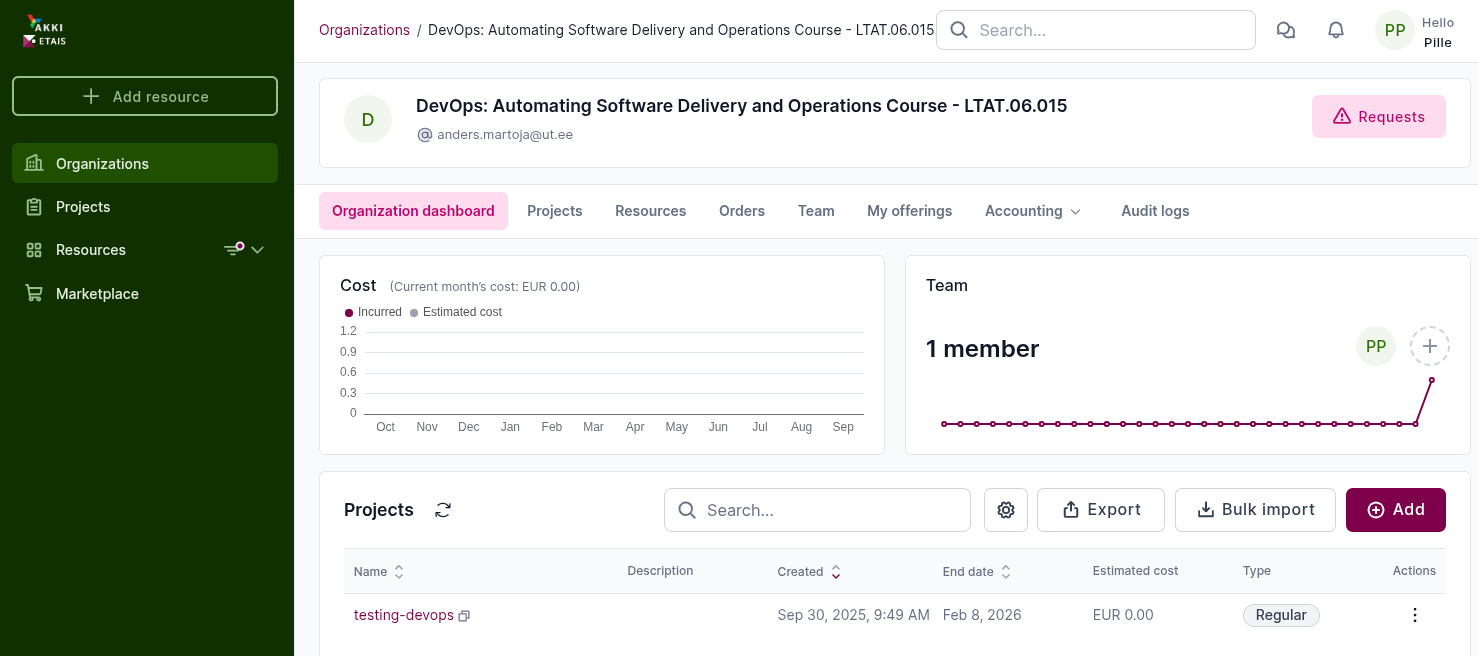
After successfully logging into to the ETAIS environment, the next step is to add an SSH key. This will make accessing resources provisioned through this self-service portal more seamless.
Generating key pair and uploading the public key to the SSH server
Before you continue we need to set up public / private key pair so you could use them to connect to the machine.
Public key cryptography, or asymmetrical cryptography, is any cryptographic system that uses pairs of keys: public keys which may be disseminated widely, and private keys which are known only to the owner. This accomplishes two functions: authentication, where the public key verifies a holder of the paired private key sent the message, and encryption, where only the paired private key holder can decrypt the message encrypted with the public key.
In a public-key encryption system, any person can encrypt a message using the receiver's public key. That encrypted message can only be decrypted with the receiver's private key. To be practical, the generation of public and private key pairs must be computationally economical. More on that here.
Danger
- Make sure you do not lose this key, once Your VM has been created the only way to change the key is from inside the VM.
- If you lose your copy and are locked out of the VM, you will have to create a new virtual machine!
Attention
This part has to be done on you personal Laptop/PC
- Open command line
- Use
ssh-keygencommand to generate the 4096 bit long RSA key (try to figure out the proper command options you want to use. If asked where to store the key use the default location of:${HOME}/.ssh/id_rsa- If asked about a password you may consider protecting the private key using a passphrase for stronger security, but it is also OK to leave it empty (in this case the private key has to be kept really secret).
- Now two files should be added into
.ssh/directory of your home folder:id_rsawhich is a private key and should be kept secret (by the way what are the proper permissions assigned to the file ?)id_rsa.pubwhich is a public key and may be shared (by the way what are the proper permissions assigned to file ?)
- Once the key pair is generated we may set up the SSH server to use public-key authentication:
- Copy public-key to memory and then continue with Manual on where to paste it in ETAIS:
$ cat ~/.ssh/id_rsa.pub
- Use PuTTYgen application to generate the key pair:
- Download PuTTYgen
- Set the password for the private key and save it to your computer.
- Copy the PuTTYgen
(public key) outputand paste it to theETAIS(next part in manual). -
NB! Do not save the public key into a file and copy it to the server, it will not work, it has a different format.
- PuTTYgen info
Copy the public key to ETAIS
Important
Follow HPC's offical documentation on how to add your SSH public key into ETAIS
Adding a public SSH key to a profile
Copy the public key to the VM
When creating the virtual machine in etais, only the team member's key who created the machine is added. To add other team member's public key to the VM check out this guide.
Creating a virtual machine
Attention
Choose a unique name for your team's virtual machine.
Complete
- Log into ETAIS(https://minu.etais.ee).
- On the left menu click on
+ Add resource. - Select DevOps course as the organization and your team's name as the project.
- Scroll down in the
Categorieslist and selectVMsand chooseVirtual machine in <VPC-name>in Offerings.- Choose a base image of your liking, for example CentOS 9.
- Select Flavor depending on how much resources you would like to give your virtual machine. We have provided you with 4 cores, 8 GB of RAM and 100 GB of storage space for your project. Use them as you see fit.
- Select
System Volume Type=prod3 (IOPS intensive SSD)and set its volume size. - Select
Data Volume Type=prod3 (IOPS intensive SSD)and set its volume size. SSH public key=Your public key that you added before.Networks=<VPC-name>-sub-netAuto-assign Floating IP.Security Groups= addsshandping(do not removedefault).VM name=Choose a name that you will remember (Can only contain lowercase latters from a-z and numbers 0-9. Cannot contain special characters for example: õäöü). ).Description=Add your Full name, team name and course name (DevOps 2025).
- Check everything twice and press
Create.
Attention
VM nameyou set can be used as the Fully Qualified Domain Name (FQDN) usually, e.g. you have set yourVM name=reddit-clone, you will automatically be given a DNS record for your machine by the cloud and it would bereddit-clone.cloud.ut.ee.- This comes with a caveat, the
VM namehas to be unique and not taken. Cloud DNS operates on a first come first served principal. If you just name your VMtestmostlikelytest.cloud.ut.eeis already taken.
- This comes with a caveat, the
- Test the availablity of the DNS name by running a query against cloud dns:
dig @ns1.cloud.ut.ee test.cloud.ut.ee- Substitute
test.cloud.ut.eewith yourVM name, e.g.YOUR-VM-NAME.cloud.ut.ee - If the
ANSWER SECTION:is empty (no IP aaddresses listed) then the DNS name is available.
- Substitute
Verify
Once the VM is successfully created it should be visible in the list of VMs in ETAIS (Resources -> VM in the left-most menu) and External IP should be visible. 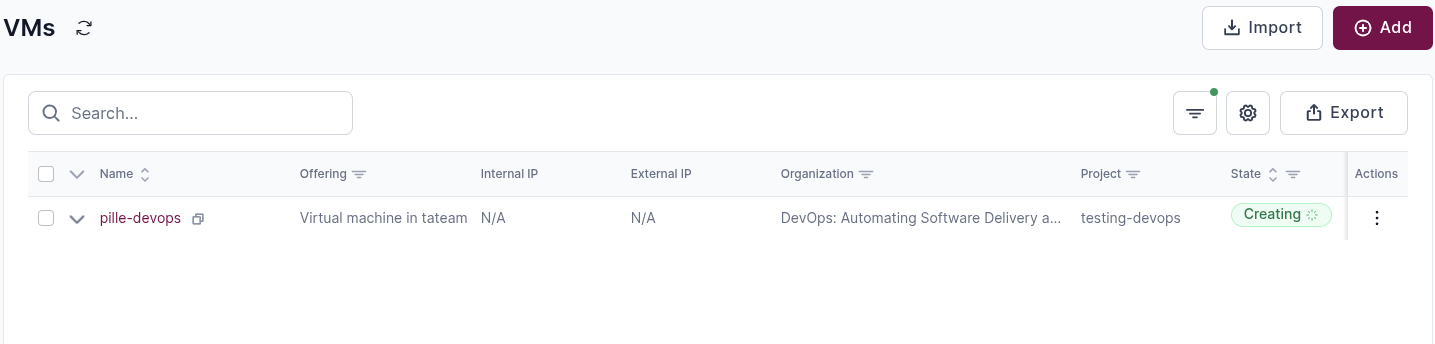
Below is a small guide on how to configure firewall rules:
- Go to
ETAIS->Resources->VMs-> Your VM ->Networking->Security groups->Manage security groups->Create->Name: web1, Description: Web port->Submit. - For the newly created security group look at ->
Actions->Set rules->Add rule->Ethernet type:IPv4->Direction:Ingress->IP protocol:TCP->Destination port:443or80->Remote CIDR:0.0.0.0/0->Remote security group:None - Press Submit.
- Go to
ETAIS->Resources->VMs->Actions(hover over your vm)->Update Security groups-> Add the newly created Security Group Dummy to the list of Security Groups ->Submit
Complete
Open up port 80 or 443 depending on which port will serve your application. No other ports should be open (except for ssh and default security groups).
Virtual machine setup
Complete
- Use a web server to serve your application.
- Create and add an SSL/TLS certificate for your application. The connection to the application must be secured with the TLS protocol.
You can choose which web server to use for hosting your application. The most popular options are Apache, Nginx, Caddy and Node.js. Instructions for using Apache are available in the System Administration course lab guide.
Your application must use the TLS protocol to secure all connections. Certificates must be valid and not self-signed. The recommended tool is Certbot (Let’s Encrypt’s official client), but you may also use acme.sh, Caddy (automatic TLS), or a manual certificate request via OpenSSL.
Tip
Use Ansible to set up your virtual machine. Create a pipeline stage to automate the setup process. The VM setup can also be in a separate pipeline from the application.
This is not a mandatory task. You do not have to use gitlab pipeline to set up your VM. The virtual machine setup can also be handled with a script inside the machine or with Ansible that is run manually.
CI/CD pipeline
Create a ssh key pair for GitLab access to your virtual machine. Add the public key to your virtual machine's ssh authorized hosts file. Add the private key to GitLab in Settings -> CI/CD -> Variables -> Add variable. You have two options here:
- Add the key as a file and unmasked. Then the key can be seen in the pipeline logs.
- Encode the key with base64 and add the key as a variable which is masked. Then the private key won't be visible in the pipeline logs. Don't forget to decode the key when using it in the pipeline!
Complete
- The pipeline must have a build stage where the application is built.
- The pipeline must have a deploy stage which deploys the application to the virtual machine.
Unit tests
Backend test coverage must be over 50%.
Complete
- Unit tests must run in a dedicated test stage in the pipeline.
- Tests must run automatically during push and/or merge requests.
- A unit test coverage badge/banner must be added to the repository’s documentation page.
See here how to add the coverage calculation to your pipeline. And see here how to add the banner to your documentation. Change the limits so that coverage over 50 % and lower than 50 % are different colors.
Documentation requirements
Document all changes you have made.
According to the course schedule, you will have dedicated time to write full documentation at the end of phase two. For now, you can make notes and complete the documentation before the second checkpoint.
Tasks
- Ensure all tasks from Phase 1 are completed.
- Create a virtual machine in minu.etais.ee and deploy your application on it.
- Automate build, deployment, and optionally VM setup using your CI/CD pipeline.
- Add unit tests to achieve at least 50% backend test coverage.